First Published March 2nd 2018
This is a question that has ‘cropped’ up over the last few days, So i thought i’d throw some information into the pot.
Instagram is an interesting platform which is mainly used on Smart Phones and Tablets. Because of this, you need to crop your image to meet some of it’s ratios. It is best to do this before posting to get the best out of your image.
I am just learning a lot about this myself, and really need to up my instagram game. This will the first part of possibly a 3 part blog about this over the next few weeks.
Onto the good stuff.
The Ratios
For a long while you could only do a 1:1 ratio image on Instagram. Now you have 2 other aspects which are available.
2:3 or landscape
1:1 or Square
4:5 or Portrait
The 2:3 Landscape Crop. It doesn’t take up much screen space, top to bottom, so may not be as noticeable in someone’s feed.

The Classic 1:1 Ratio. Good for some shots but i prefer something else.

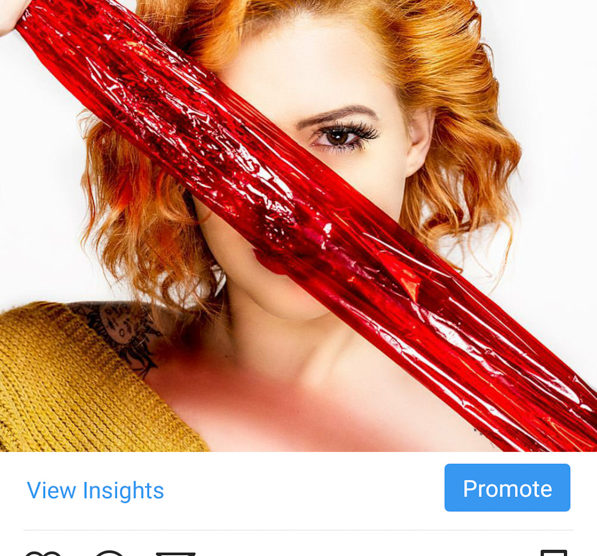
The 4:5 Portrait Ratio. This takes up a lot more of the screen and is more noticeable on the Instagram Feed.

What Ratio to Use?
To be honest it is up to you, but for the most impact and a lot more screen real estate use 4:5.
You don’t want wasted space on the bottom of your screen.
Landscape Orientation looks bad on your profile as it cuts off the sides of your image.
Use 4:5. It is the largest format available.
How to Crop?
If you are using Lightroom or Photoshop, the process is pretty much the same.
Lightroom. In Library or Develop mode press ‘r’ on the keyboard and it will take you to the crop and straighten tool.
Where it says ‘Original’ on the right hand side, click on the arrows and you’ll get options for your crop. Select 4×5.

Photoshop. Click on the Crop tool on the left hand side or press ‘c’. The menu at the top will change. In the Ratio box select 4:5. click on the tick to make the change.

This is the same for whichever ratio you want to choose.
Posting to Instagram.
When you post your image to instagram you need to do the following.
Select you image, and then press the 2 crop arrows at the bottom left of the screen.

This will post your image correctly.
This is all you really need to know about the Crop factors for instagram. No need to go into too much detail really, as it overcomplicates matters.
The next part will be about keeping the quality in your image, and what settings to use when exporting.
I now have a store for Prints and anything else. Look at the top of the page and click on Shop.
If you want to email me for a custom order, or something not in the shop drop me an email.
As always, have fun, stay safe, and enjoy shooting.
Any suggestions for future blog posts, drop me an email. I will at some point be going into more detail on future posts.
you can see more of my work at
https://www.instagram.com/garethnormanlandscapes/
https://www.instagram.com/garethnormanportraits/
https://www.facebook.com/garethnormanlandscapes/
https://www.facebook.com/GarethNormanPhotography/
#instagram #cropping #howto #hintsandtips #guides #garethnormanphotography #leicesterphotographer