Photographing Long Exposures of Light Trails is a great place to start with Long Exposure Photography. It doesn’t require much equipment and the results are fantastic.
There are a few basic rules you need to work by, and a few additional one’s to maximise the aesthetics of the shot.

Lets get right into it and help you get the shots your after. First, what you need to take with you.
KIT
- A Good Sturdy Tripod. As you’d need for any long exposures, you need a good tripod. Something with a little weight is ok and a good ball head and plate design.
- A Camera. Generally an entry level SLR or up will be suitable. You can do this sort of photography with a bridge camera, or even a phone as long as you have a shutter priority mode. I’ll be mainly talking about an SLR in manual mode in this post.
- A Cable Release/Intervalometer. You want to be able to control the exposure length without touching the camera. This little piece of kit will do it.
Now for a few of the general rules you use to get the shots i want in my portfolio.
TIPS
- Get yourself into Manual Mode and give the following settings a go.
Shutter Speed Usually about 10-20 seconds. You want the shutter open long enough to get trails that don’t cut off before going out of frame if possible.
Aperture f5-f14. depending on how long you want your light trail to be. As with the shutter, it will determine the amount of light you let into the sensor.
ISO As Low as Possible. I would usually start around 200 and see what my exposures are looking like, and lower or raise them from there. Don’t raise it too high, as you could overexpose.
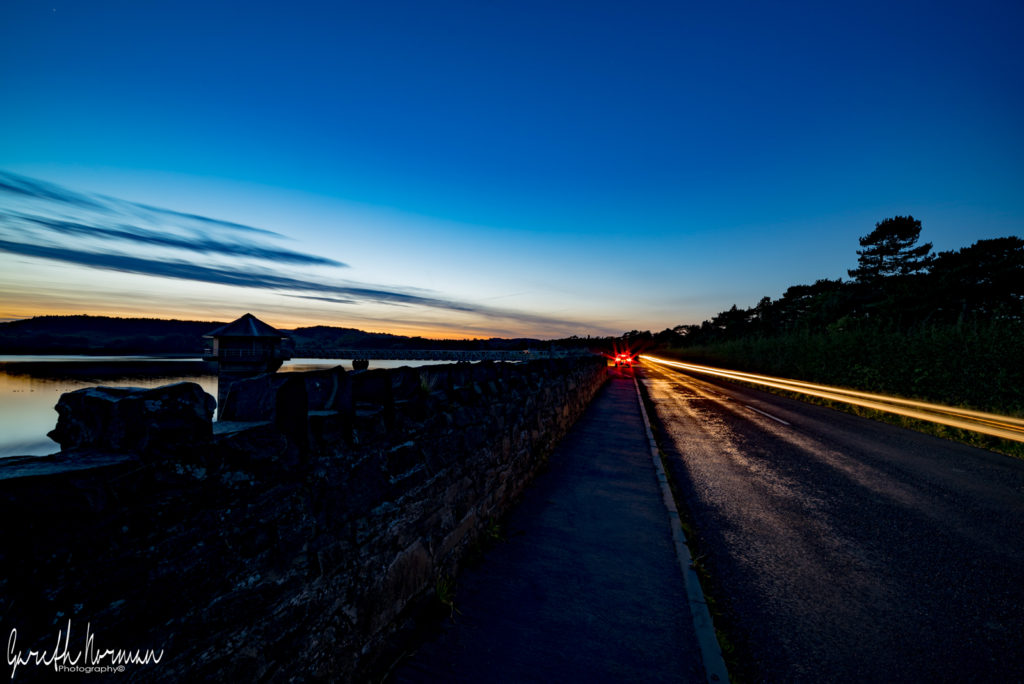
- Choose you time of Day
After Sunset is the best time of day to take trail shots. In the blue hour it’s possible and can look good as well, but you’ll have to cut down your ISO and raise your aperture quite a bit higher. best to keep the settings in the sweet spots advised above.

- Location
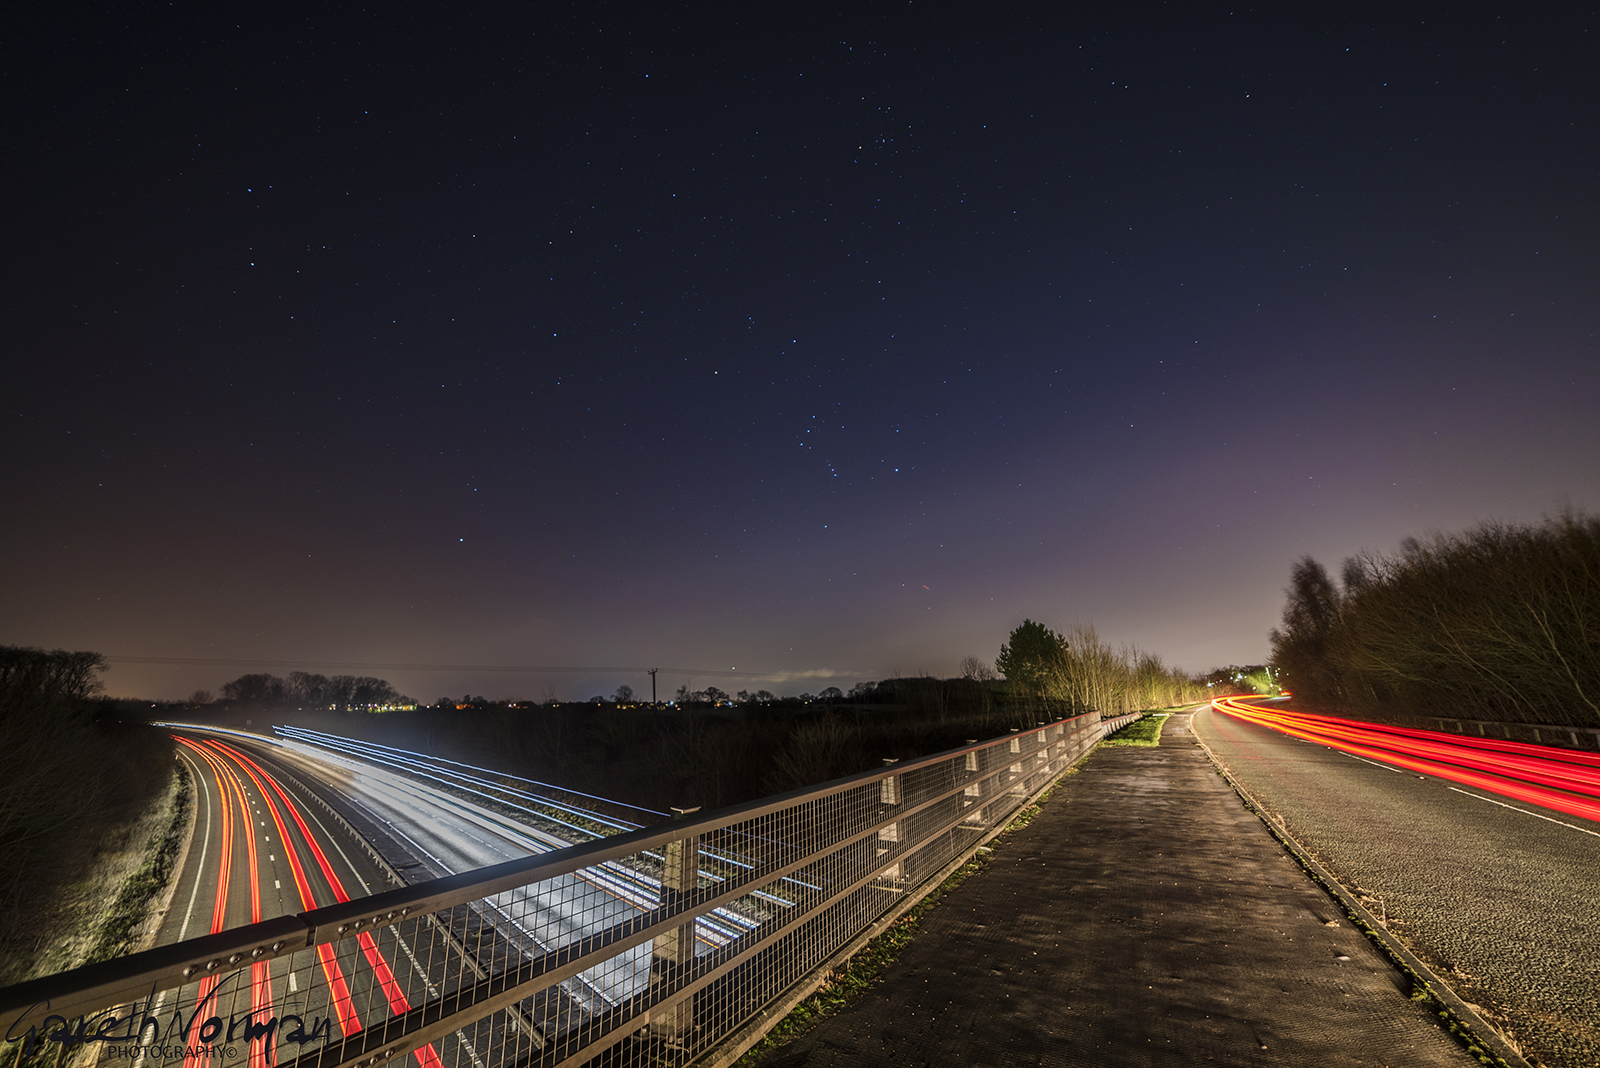
Make sure you are in a safe place, not in traffic, or close to a train line etc… safety first. Shooting an interesting building from the side of the road with cars or buses going past. Some of my favourites have come from an elevated location like a bridge. It gives you an interesting aspect.

- What to shoot
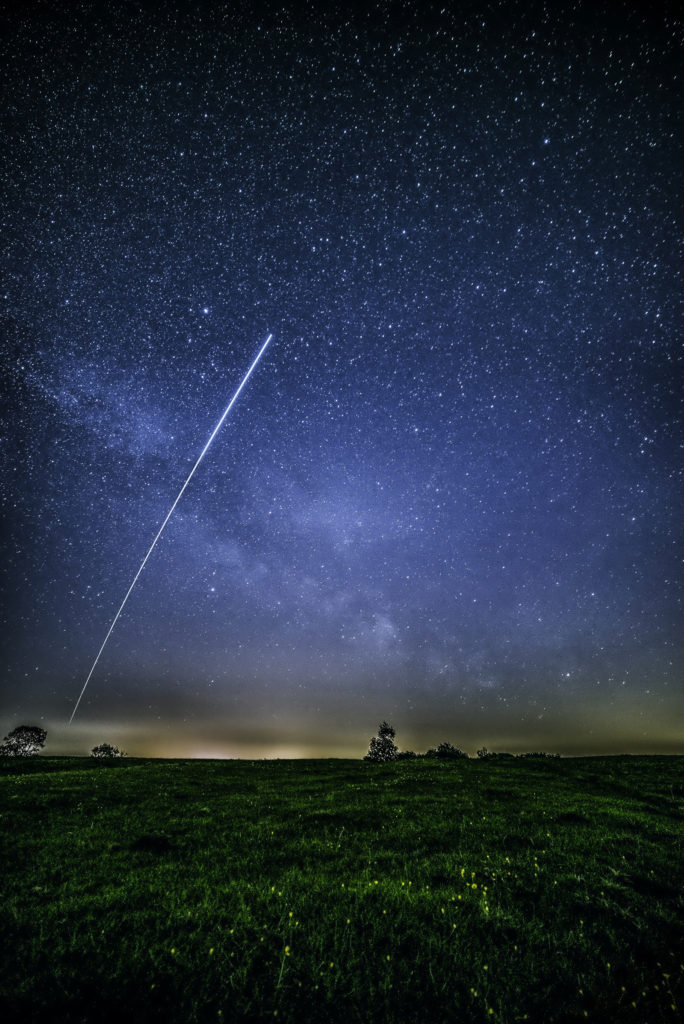
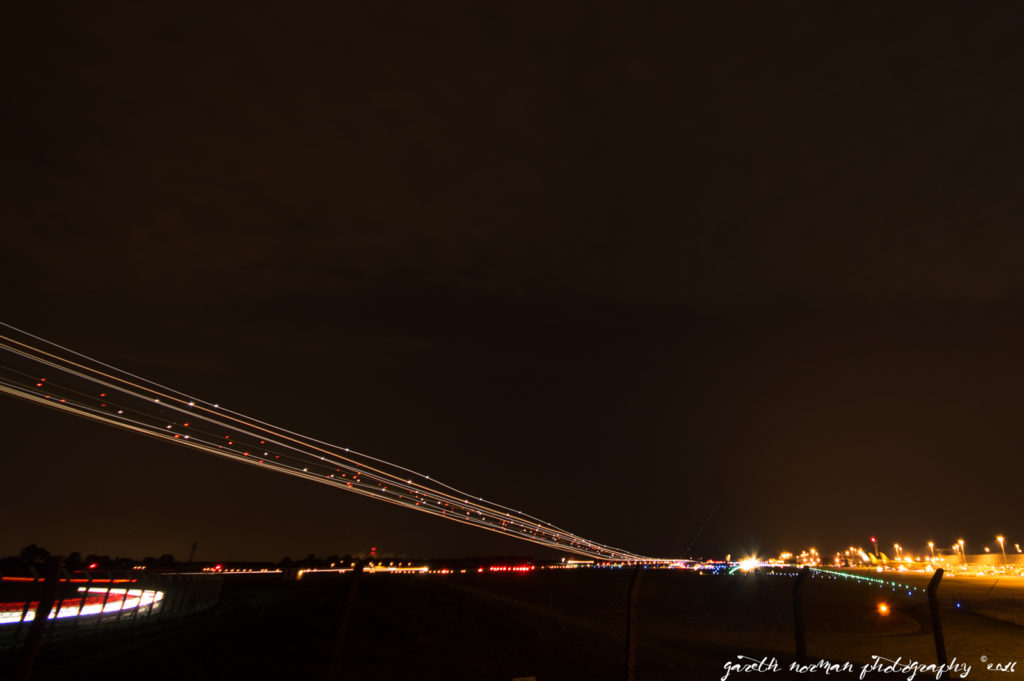
Anything with lights that moves!!!!. They all work. Bicycles, Cars, Trains and Planes and even the International Space Station are all Awesome to shoot. Just stay safe, stay visible and stay legal.
I love Photographing Long Exposures and After Dark and I hope some of these tips will give you an idea of what to expect. Learning some long exposure techniques can help with other areas of your photography, and help you to understand the exposure triangle.
Finally, have fun and stay safe, and enjoy shooting.
Any suggestions for future blog posts, drop me an email. I will at some point be going into more detail on future posts.
you can see more of my work at
#garethnormanphotography #longexposure #landscape #lighttrails #nightphotography #light #lightart #lightpainting #cartrails
About Me
I’m Gareth, a 39 year old IT contractor, Photographer, Eternal Optimist and Blogger. I have been behind a camera for about 4 years now and love shooting the stars, and anything else for that matter. Learning is the main aim for me. I am a family man, and strive to be the best i can be in all fields that i put my mind and heart to.