First Published September 14th 2018
Lightpainting. Where to begin!!! this is a hugely creative area of photography. In this post i’m not going to break it down but give a general overview of how easy it is to start and get into.
Lightpainting, What is it.
Generally speaking, it’s when you use a light source to create patterns, and photograph it. Mainly using long exposures and smaller apertures (higher fstop numbers) to create shapes and patterns with light sources, lighting up a building with flash, the possibilities are huge.

I will go through a few techniques and things i’ve played with. Hopefully it sparks your imagination as much as it does mine.
What Kit do you need
1. A DSLR, or camera that can be manually operated, and take an exposure of 30 seconds, your in a good place.
2. A Wireless remote, so you can use bulb modes to get the exposure length you want. remember to get the correct one for your camera.
3. A Torch for painting patterns.
That is it. That is all you need to start in the world of lightpainting.
Additional Kit that is useful for different effects.
EL Wire, or Electroluminescent Wire is awesome stuff to work with. I have a lot of this for different effects and colours.
Fibre Optic Wands are fantastic and produce really interesting effects. You can buy these from toy stores, online, or there are specialist companies who provide different types of light wands and attachments for a premium price.
Kids Light Sword Toys. These things really are a lot of fun to create amazing patterns and effects.
Make your own light wands or devices for what you want. The possibilities are huge. I’ve used bicycle wheels, old tubing with led’s and even umbrellas to create lightpainting tools.
How to lightpaint at home and elsewhere
You can do lightpainting in your own front room, a studio, or outdoors.
All you need is a little darkness.
To start with make sure your ISO is set to the native camera setting, so 100 for most.
Dial your aperture or to f9 or f10 to cut out some of the ambient light
Change your shutter speed to 30 seconds, or bulb to control how long you want the shutter open.
these aren’t the settings you’ll probably end up with, but are a good starting point to work from. You want to cut out more ambient light, close the aperture or shorten the shutter if you can.
You can start with just using a torch to create patterns, letters, characters. My favourite way of lightpainting at home is a scaled up spirograph.
You can do this with a string attached to your ceiling, or something high, and swing it over your camera. It will naturally create a pattern.
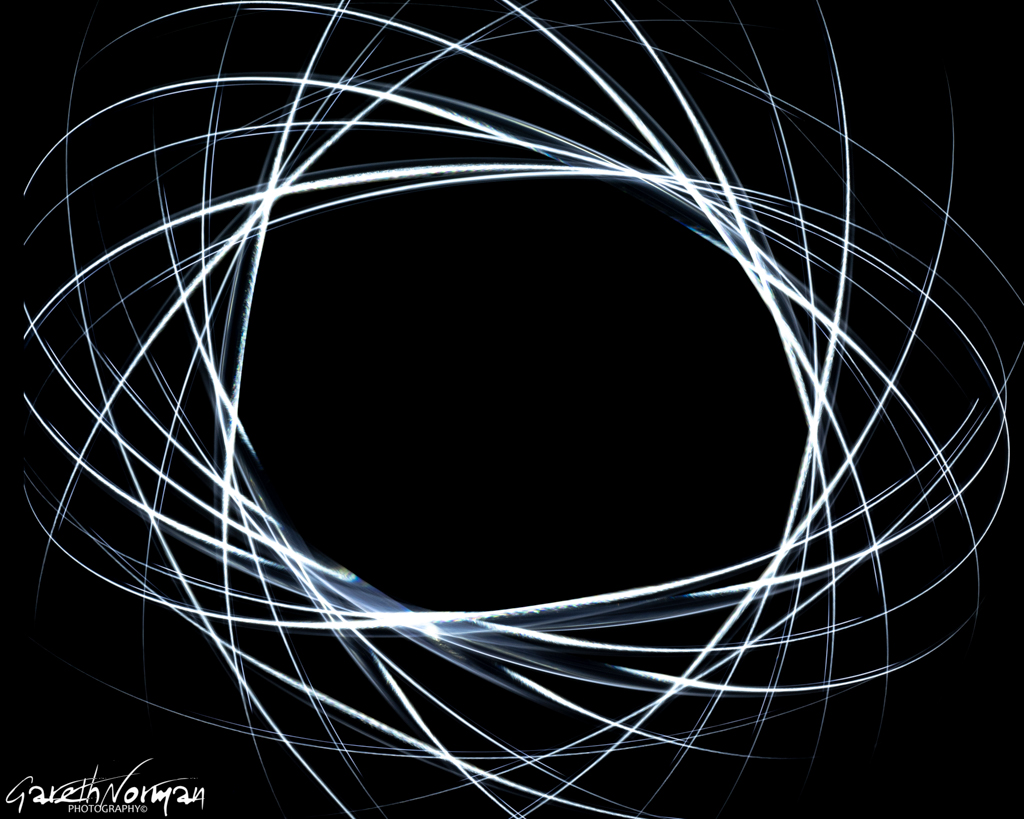
f14, 30 Seconds, ISO100
This time i used the multi coloured EL lighting to add some more fiery elements.

f14, 30 Seconds, ISO100
These were all done in an office room with the camera pointing straight up.
Just the Red EL wires in this one and a different spin on the torch.

f14, 30 Seconds, ISO100
As you can see, as soon as you dial in some settings that work, don’t mess around too much with them.
Out in your garden or local area to provide a cool backdrop.

f4, 30 Seconds, ISO320. One of my favourite selfies from an old Priory.
Using Architecture to build great images.

A new bridge built in Leicester just needed to have the spinning treatment. ISO2000, 9.1Seconds, f7.1

f2.8, 30 seconds, iso800. You can create a lot of levels with just a simple torch.
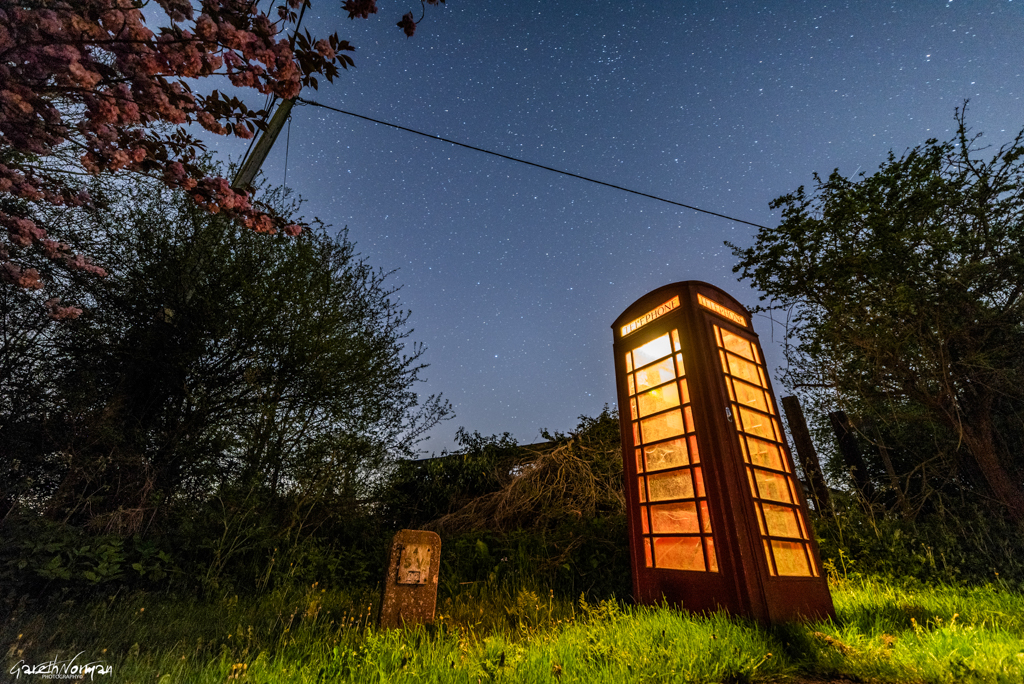
Lightpainting but in a different way, using a flash gun to light up different angles, and borrowing the light from the telephone box. 30 Seconds, f2.8, 30 seconds for the stars and 5 seconds f5.6, 5 seconds for the foreground. (composite).

Again, some simple torchlight. 30 seconds, ISO400, f2.8
Using Wire Wool
Shooting wire wool is something that is fun, but also dangerous. IF you want to do this, that is entirely your decision. If you do insist, be careful, wear the right protective clothing and glasses and keep some water or an extinguisher close by. If you can work with someone who has experience with this sort of photography.
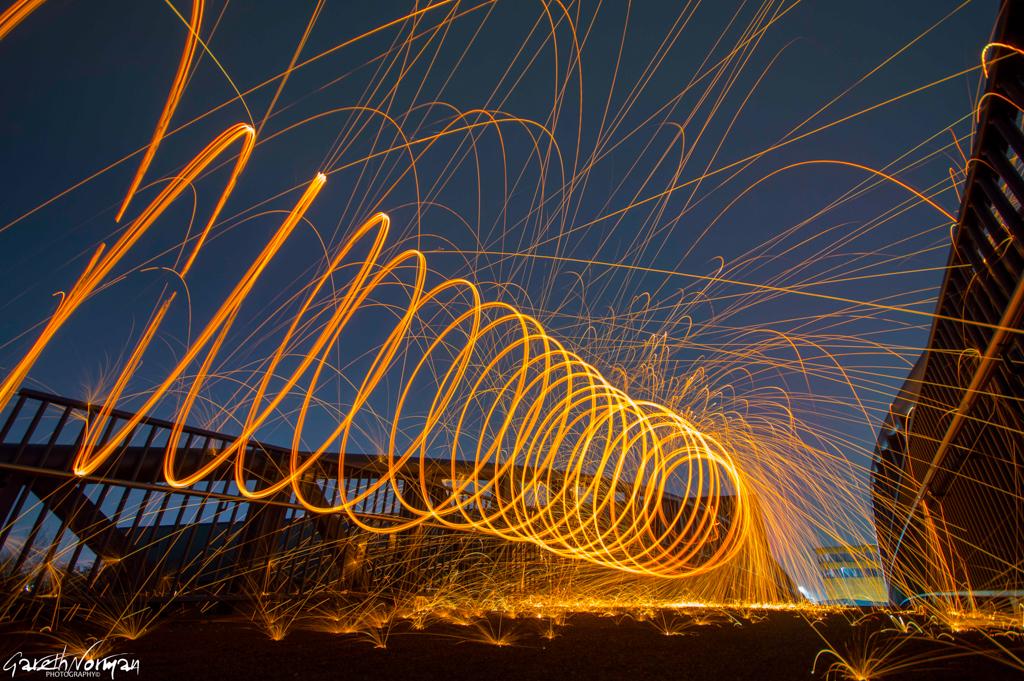
Across a bridge to the city. Urban environments are great for wire wool shots.

In an open park with lots of hard surfaces to bounce off, including an umbrella and myself.

Standing on a log in a waterlogged field. a little lightpainting afterwards.

Double Trouble. This is 2 seperate exposures blended together. The first shot was also hit with a big dose of flash.
Experiment
Just have fun with your photography. experiment with shapes, movements, locations.

A local golf course in the middle of the night.

Using a specially made lightpainting wand and a very long exposure.

lighting up a wall of a bridge.
The main thing is to have fun creating great images. Don’t get disheartened if they don’t turn out exactly as you expect first time. You’ll generally be able to see what you did, and how to remedy the issue. Practice and Experiment.

Use lights in the environment to create great photos.
I hope you found this blog informative and interesting. Any comments or if you have any questions please ask away.
Keep an eye out on Youtube, Instagram and Facebook for updates, videos, Behind the scenes and much more.
I now have a store for Prints and anything else. Look at the top of the page and click on Shop. If you want to email me for a custom order, or something not in the shop drop me an email.
i will be running workshops in the future. By signing up to the newsletter, or following on Facebook or Instagram you will kept up to speed.
Finally, have fun and stay safe, and enjoy shooting.
Any suggestions for future blog posts, drop me an email. I will at some point be going into more detail on future posts.
you can see more of my work at
#garethnormanphotography #leicesterphotographer #hardworkpaysoff #pushyourlimits #followyourpassions #nikon #sigma #samyang #bestphotography
About Me
I’m Gareth, a 38 year old IT contractor, Photographer, Eternal Optimist and Blogger. I have been behind a camera for about 4 years now and love shooting the stars, and anything else for that matter. Learning is the main aim for me.I am a family man, and strive to be the best i can be in all fields that i put my mind and heart to.
