First Published April 6th 2018
To be honest, this is where i started and, this is where i used to do most of my stacking of star trails. Not having the budget for Photoshop didn’t really help, so i was trying to find every bit of free software available for editing,ánd this is one that was invaluable.
I’ll link it here. http://www.starstax.net. It is freeware, but please donate a little to help with development and updates.
Starstax does a great job with most star trail photos. You have to import in .jpg or .tiff formats, but that’s not all that a big deal when your starting out and getting used to what you need to do.
It has a lot of different settings that can be used to gap fill to an extent, create comet trails, and more general stacking styles.
In this little tutorial, i’ll go through the software. It is outstandingly easy to use and gives you good results.
It is not as good as using photoshop, and doesn’t provide advanced editing tools, but for importing, stacking and having an image in about 2 minutes, it does the job.
Without further ado….. Starstaxx
At the top right your file import button, dark files, save as and stack buttons. The two you will really use are import and stack. On the right the blending modes. There are a few available and i would urge you to have a play about with them.

Here i have imported about 60×30 second shots. I will show the outputs below.

A couple of things to note at this point.
If you have a plane going through any of your frames, you will most probably see it at the end.
If anything else with lights passes through the image, it will most probably blow out the image. For instance, with this, there was 4 cars going through different frames. I had to deselect these on the left hand side and restack.

This was a stack using the lighten function and you can see where the frames i took out for the huge lights that blew it out. Still a great image though.
And using the Comet trail stack. It tails off the image and gives it a really cool looking tailed look.

A great little piece of software to get you started out. I’m sure with more input, the output will be better.
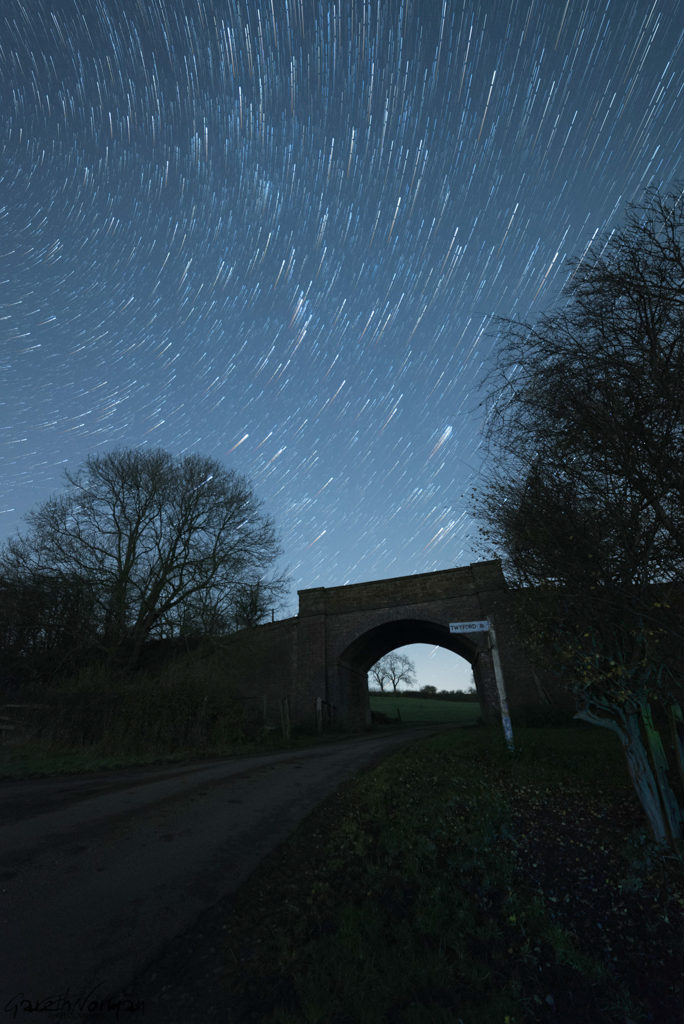
Either way here is the result from editing in Photoshop.

I could work in some of the Car lights to illuminate some of the foreground. Work the exposure and contrast a bit, to make the foreground pop, and of course, i could get all the frames i wanted in, so could do a more complete trail.
This is one of only 6 or 7 ways i like editing my trails, and i am learning everyday. I will be doing more detailed tutorials soon.
Also now the weather is getting better, i will be out and sharing my adventures a lot more.
I now have a store for Prints and anything else. Look at the top of the page and click on Shop. If you want to email me for a custom order, or something not in the shop drop me an email.
Finally, have fun and stay safe, and enjoy shooting.
Any suggestions for future blog posts, drop me an email. I will at some point be going into more detail on future posts.
you can see more of my work at
https://www.instagram.com/garethnormanlandscapes/
https://www.instagram.com/garethnormanportraits/
https://www.facebook.com/garethnormanlandscapes/
https://www.facebook.com/GarethNormanPhotography/
#longexposure #landscapes #garethnormanphotography #leicesterphotographer #hardworkpaysoff #coastline #pushyourlimits #followyourpassions #nikon #samyang #slowshutter #greatbritian #england #madeinengland #explore #exploremore #unlimitedplanet #astrophotography #getoutmore #starscape #startrails #starstax
