
First Published March 25th 2018
Star Trails are great fun to work on and seeing everything come together is just a sublime thing.
Two ways of shooting startrails.
There are a couple of techniques that can be used to shoot star trails. One is slightly more controllable than the other.
The first is shooting multiple exposures and stacking them in software later. This is the technique i will concentrate on, as it’s the one which is most usable in the UK.
The second is a single long exposure. This is outstandingly difficult to do, unless you have totally dark skies, with no light pollution from cities.
![]()
One of the first shots i did with my 10-20mm on the D3200.
You may be able to do something in Wales, and this will be attempted again when i go there.
I have tried this a couple of times and been semi successful.
Multiple Exposures Technique.
Setup as you would a starscape shoot, pretty much.
A couple of things you can play with though. ISO and Fstop. Since you are after the movement of the stars you don’t need to limit your shutter speed or push your iso right up like in a milky way shot. You can compromise for this sort of shot. Lower your ISO to get a good clean shot and your Fstop can go up slightly if you want.
My usual settings on the D750 full frame camera would be ISO500-800, f2.8 and go for a 30 second exposure.
The shutter speed doesn’t matter too much, as it doesn’t matter if your stars trail, as that’s what you want. Just take some test shots until you are happy with your exposure.

Another Short one from Bradgate Park. Kept the ISO higher and the fstop low to get a larger amount of usable stars in shot. You can probably see where the milky way is in this one because of the density of stars.
Single Long Exposure.
Last time i tried this was around a year ago. I will put up the attempt and show you the results. It is, in my opinion an absolute artform, which is difficult from the UK. My settings were a lower ISO, 200 if i remember and f5.6. This was a 30 minute shot and looked blown out on the screen, but was retrievable.
Forgive the Edit. 30 minute exposure, ISO100, F4.2. Think maybe next time close down the Aperture a bit more and slightly darker sky.
The rest of the settings.
White Balance, i usually set to Daylight. You can set this to tungsten for a more blue look, or whatever you want really. If your shooting in Raw you can change it to the look you want in post anyway.
Long Exposure Noise Reduction, Turn it OFF. This will stop your trail from working and ruin your whole night.
If you take a 30 second shot, the noise reduction will take another exposure of equal length straight after to check for noise and reduce it. This means 30 seconds of no exposure.
Focussing. Couple of things here. You can use Auto Focus to get your initial focus on a building or whatever you want and turn it off straight after. Then you are golden for the evening. Check every now and then just to make sure it hasn’t slipped or been knocked at all. on a Manual Focus lens, there are a couple of options. Use Liveview and a torch on your focusing point to finely adjust the focus, or zoom in on a bright star and fine tune.
To RAW or not to RAW.
I would shoot RAW. That’s a personal preference, but the amount of latitude you have in post production is huge. It does mean you have huge files until the final cut, but, it’s all worth it.
Where and what to shoot.
That is really up to you.
If you are just starting, point the camera at the north star and start exposing to see what you get. The more you do, the more you’ll understand your settings and what you can do.
Pointing North
Pointing North and you will get a a trail that goes in a huge circle around the north star. These can take longer, as the stars move slower, the closer to the north star (relatively). To get a nice shot 20 minutes will get you something to work with. an hour is good and 2 hours+ is absolutely stellar.
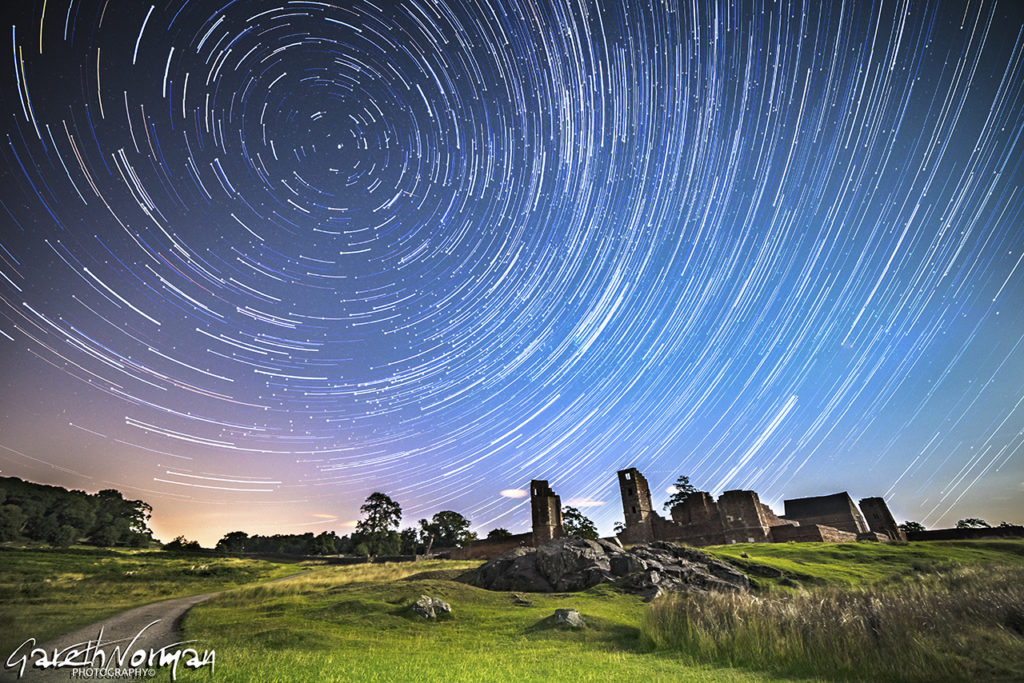
Around 1 hour 30 Minutes Pointing North. Notice the shorter trails, the nearer to Polaris.
Pointing South
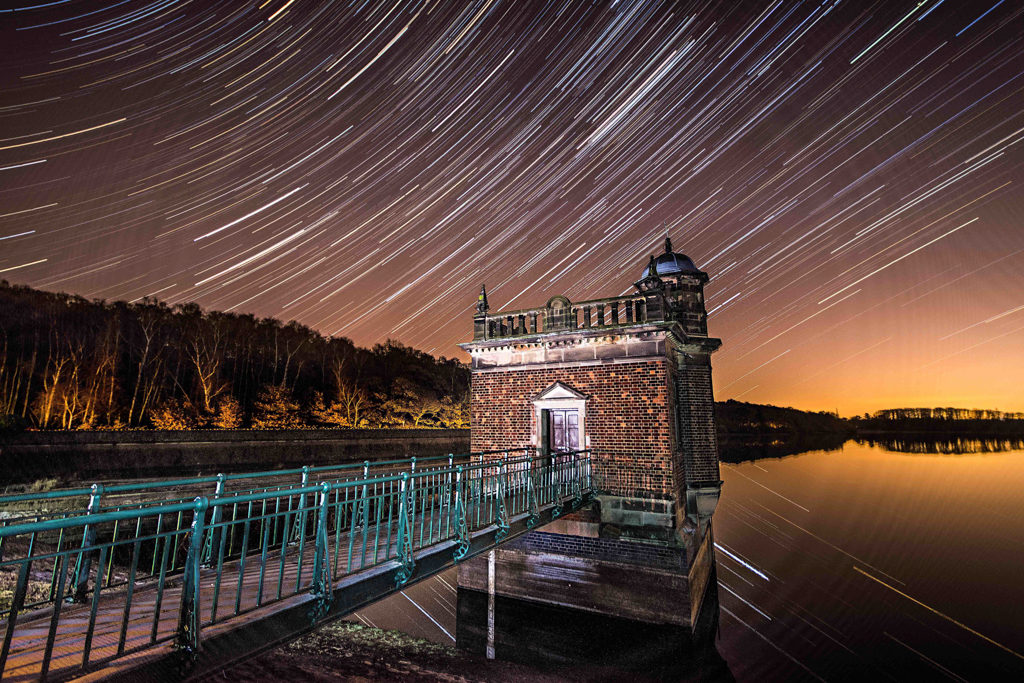
Go this way for star trails that streak across the sky. You can get a relatively good shot after about 20 minutes, but a good hour is more than enough for some really cool trails.

Around Half an Hour Pointing Directly South. A Really Interesting Effect.
East or West, or anywhere in between
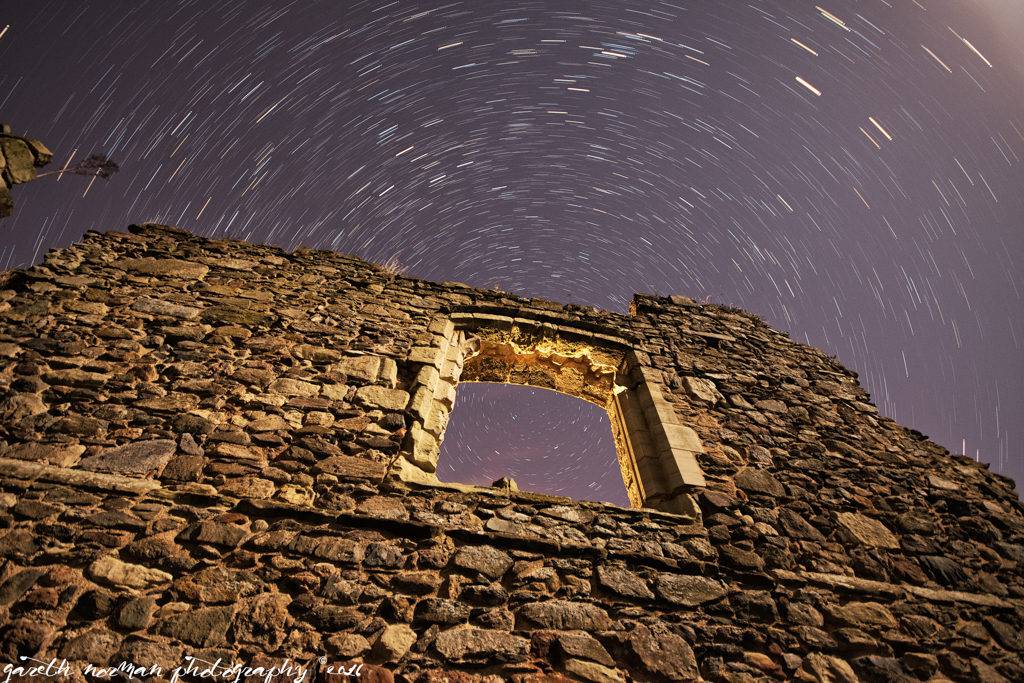
You will get a transition between the two, circular and more across. It does look pretty amazing when done right.
The transition point in between circular and streaking across.
Even small changes in direct give different effects.
Foreground considerations
If it is windy try not to go for the trees, as they will move throughout the exposure and give your photo an out of focus look.
A good structure with character, or something that just sets off the scene. It can be anything.
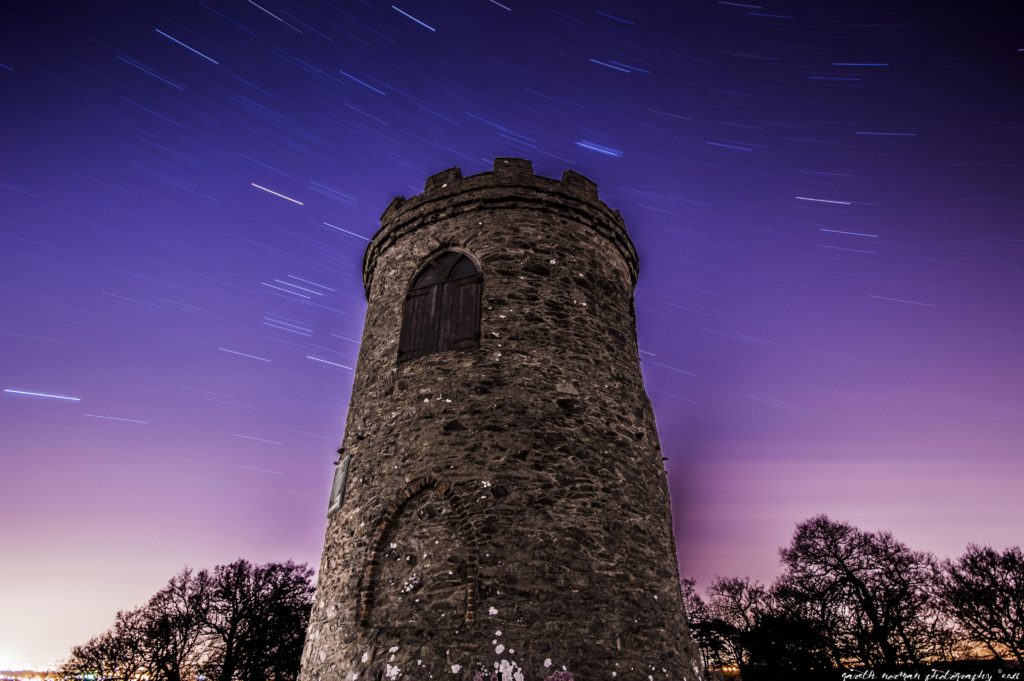
Sometimes trying to align the north star with the top of a steeple, or in line with an object can look fantastic.
Sometimes i have taken more time over the foreground and took a shot with a lower iso and higher fstop, and lightpaint the object or building.
A Window with a bit of flash from the inside wall. think about what you want to do and achieve.
Taking your shots
Your camera is all setup and ready to go. Test shots took, ISO, shutter, fstop all noted down and ready to go, white balance set, noise reduction off and all focused in.
If you want to take your foreground shot now, at different settings, get it done at the start. If not, setup your intervelometer.
I would usually set the camera to Bulb mode, so the intervelometer can control the exposure. Set a 1 second interval, as this is the lowest number you can use on most remotes. If your prepared, then you can dial in the amount of exposures you want to do as well. I generally just put it onto continuous and check my watch.
Shots taken and feet warmed up at home.
You’ve warmed up a bit and are now at home with an amazing set of shots.
There are a few ways to process them, but i will just advise the easiest way for now.
Shot in JPEG
If you’ve shot in JPEG, just load those files into a program called Starstaxx.
It is free for PC and Mac, and does an awesome job of creating the trails. It can do a comet style shot, and also has a gap filling mode for those little bits you didn’t get perfect.
Shot in RAW
If you’ve shot in RAW. download to Lightroom. Edit your shot to your liking. Push those settings across all of your exposures and export to JPG.
Import to Starstaxx and your golden.
One of My Workflows
This is only a quick overview of my workflow, as in depth is a whole other post or 3.
After starting with a RAW file, i’ll do my general adjustments in lightroom.
I will then export the files to JPEG. If I’ve done a separate foreground exposure i will edit separately and export to JPEG. Sometimes, for smaller trails i will just select all my images in lightroom, and the open as Layers in photoshop. This takes time and a whole lot of computing power.
I will open as a stack in Photoshop. I will go through each exposure, and get rid of any plane trails, or unwanted items, like cars in the foreground, intermittent lights etc…
I will then blend all the exposures together at the same time.
Final adjustments to exposure, contrast etc… as this will change a little depending on the mode you used to blend.
If i’ve done a seperate foreground shot, i’ll bring it in now and blend it in.
Merge the layers and thank my computer for not flaking out.
That is about it for a general overview of star trails.
Any questions, please ask, and i’ll be happy to oblige.
I’m developing some small courses on how to do this which will be practical and hopefully coming soon. Send me an email or message, if this is something that interests you.
Getting out around Leicestershire and learning how to shoot star trails, Milky Way and Night Shots in general.
If there is enough interest i may look at other locations around the UK as well.
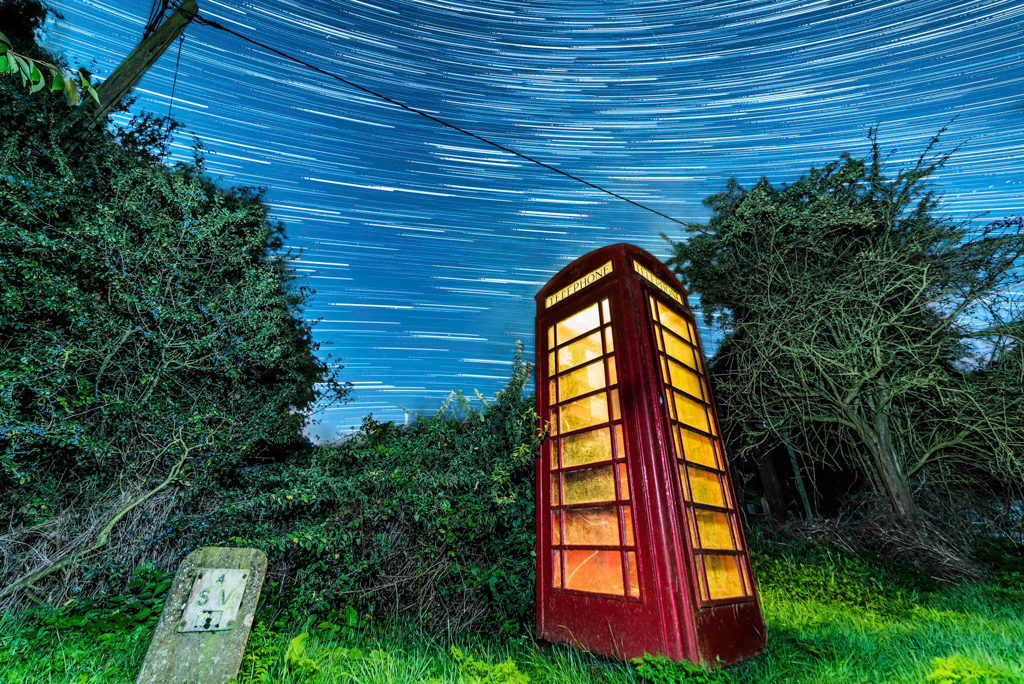
Foreground @f5.6, ISO100, 10 Seconds with Flash. Stars 70×30 Seconds, F2.8, ISO800 Blended in Photoshop. Camera Never Moved, just changed the settings, and a couple of other things to create a great shot. A future post.
I now have a store for Prints and anything else. Look at the top of the page and click on Shop. If you want to email me for a custom order, or something not in the shop drop me an email.
As always, have fun, stay safe, and enjoy shooting.
Any suggestions for future blog posts, drop me an email. I will at some point be going into more detail on future posts.
you can see more of my work at
https://www.instagram.com/garethnormanlandscapes/
https://www.instagram.com/garethnormanportraits/
https://www.facebook.com/garethnormanlandscapes/
https://www.facebook.com/GarethNormanPhotography/
#startrails #nightphotography #highiso #starscapes #landscapes #garethnormanphotography #leicesterphotographer #leicestershire #hardworkpaysoff #startrailchaser #longexposure #pushyourlimits #followyourpassions #nikon #samyang #lightpainting #courses #learning